
There are a lot of on-screen icons in EA Sports College Football 25, and we thought it might be best to explain a chunk of the ones relating to gameplay in this guide (since EA doesn’t really try to).
We’ve showcased how to read RPO playcalls and run them, and we also explained what all the alternate positions for players mean in the depth chart. With these on-screen icons, you might know some of them if you have played Madden, but there’s never really been a great guide for them even in that game. So let’s jump into this.
EA Sports College Football 25 Gameplay Icon Guide
Field General
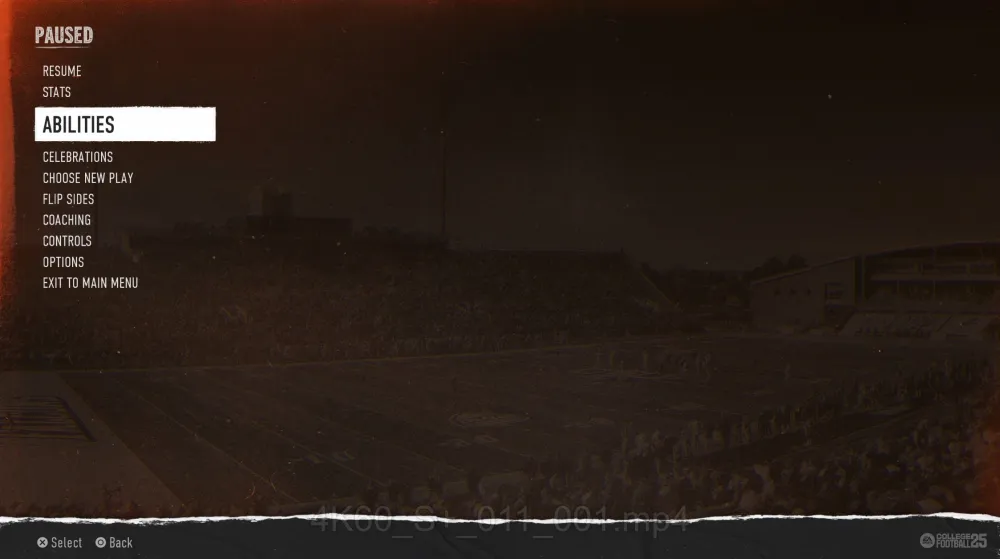
When it comes to abilities, I’m not going to go into these much because they are totally different from Madden, and there is a guide for them if you press pause during gameplay and go to the Abilities menu.
The ability icons themselves are tiny on the field, so you’re going to just have to get used to that and begin to recognize them over time. However, I do want to call out the Field General ability to start things off as you might see some various icons during pre-snap depending on the confidence ability and tier of that ability on your QB.
With the bronze tier, I want you to make sure you know the little red exclamation marks deal with potential blitzers. EA has stated it’s not always going to be “correct” that those guys end up blitzing, but that’s what that what the exclamation mark is trying to tell you. If you have the gold or platinum tier of the Field General ability, you might see stuff like numbers above a safety’s head at times, and that’s trying to tell you what sort of coverage shell or the disguised coverage the defender is in/might be in.
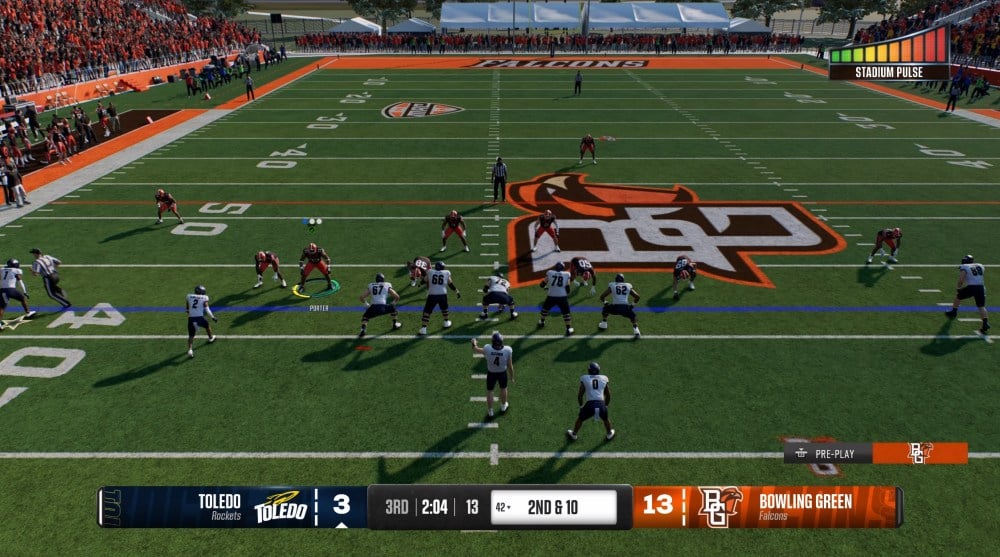
What Do Letters M, F, P, C Mean On Defenders?
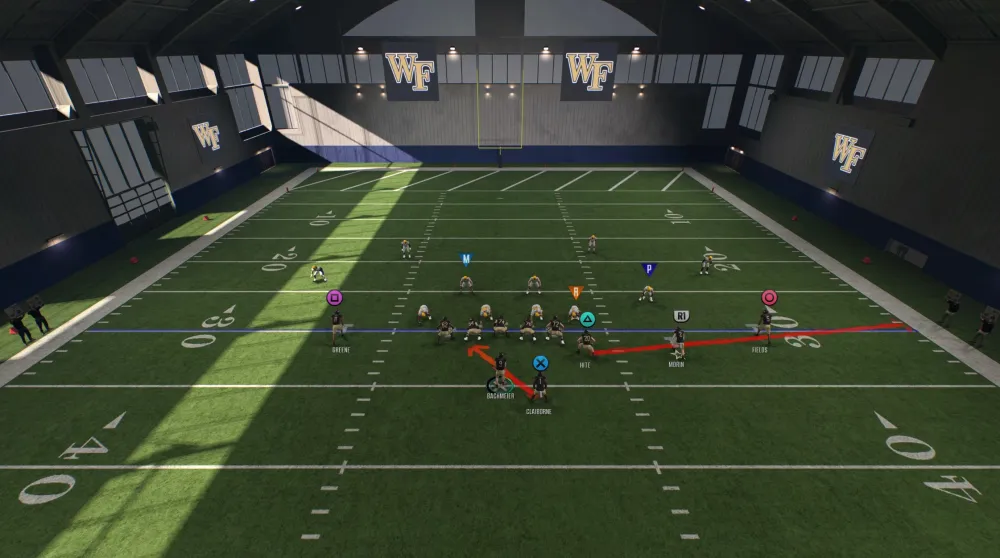
If you press RT/R2 during pre-snap, you’re going to see various letters depending on the type of play. You should see an M on every play so let’s start there.
M is the “Mike” defender on the play, which relates to the offensive line. The Mike defender is the fifth defender that the offensive line will focus on during pass protection. We’re not going to get into changing how to identify the Mike or sliding your protection for this guide (we will do an offensive line guide in the coming days though), but that’s what that matters for as well.
R is the Read key defender. This defender should pop up on Read Option plays and most RPO Read plays. This is the defender you read as the QB to know whether you should hand the ball off or not. If the R defender crashes towards you, then hand it off.
P is the Pitch key defender. This defender should pop up on most “normal” option plays and things like RPO Glance plays. You can see both the R and P defenders on things like triple options. The P defender is the defender you watch as you carry the ball — at this point usually outside the tackles on option plays. If the P defender crashes towards you, then pitch the ball to the ball carrier.
F is the Force defender. Think of this like a “contain” defender (usually for run plays) where his job is to get the ball carrier to go back inside.
C on a red triangle is the Cutback defender. He’s there to contain the ball carrier even if he cuts back against the LOS and away from the designed side of the run.
C on a blue triangle is the Check defender on a play with a check-and-release route. Those blue routes you see on some plays in the playcall screen will lead to you seeing a C defender marked during pre-play. The running back or tight end on a check-and-release route will be responsible for that defender. If the check defender blitzes, your RB/TE stays in and helps on the protection. If you designate a “check” RB/TE via hot route at the line, the C defender will not show up (at least from my testing).
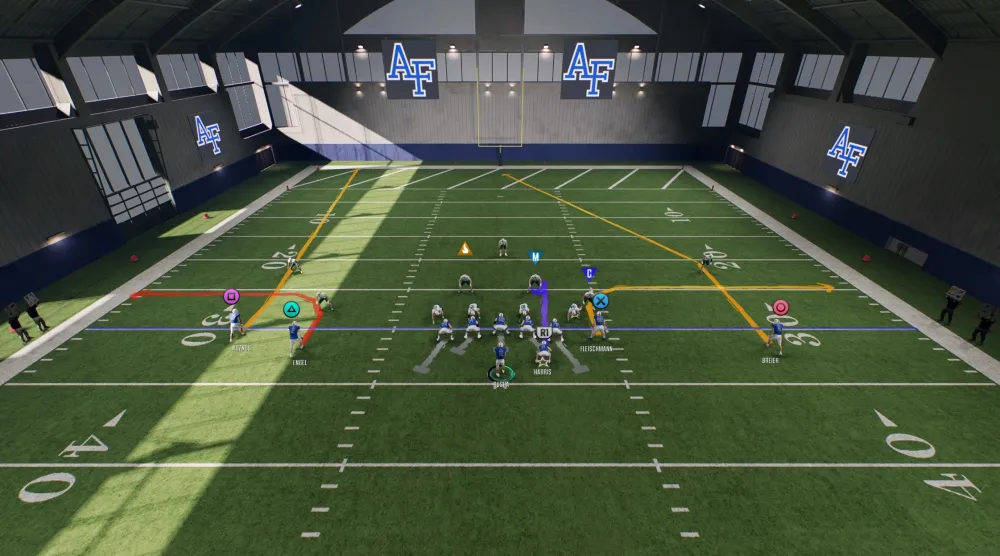
What Are The Flame Icon Defenders?
If you see a flame icon above a defender or defenders, these are players who have no current blocking assignment. In other words, the flames are there because your QB has to throw it “hot” if those players end up blitzing.
The flame defenders will also only show up if they’re close enough to the LOS during pre-play. Again, it does not mean they are blitzing, it just means if they do, they are unmarked by the offensive line.
What Are The Blue Dots?
The blue dots relate to how many pass rush moves you have available. As the blue dots turn gray, that means you have fewer available moves. Some defenders may only start with one blue dot, but that’s just there to show someone like a cornerback only has one pass rush “move” available to even try.
The blue dots will refresh over time (it’s unclear what the timer is, but it will refresh between plays at certain points). You also don’t lose a blue dot if you complete a successful pass rush move. You can also “refresh” the blue dots by subbing in new defenders, which also leads into the next icon.
What Are The Red Bars Under Offensive Linemen?
These red bars will fill up over time under offensive linemen based on the pass rush moves you do on defense. The more the bar fills up, the more ineffective your pass rush moves will be — the red bar is there to indicate that the offensive line is learning your tricks over time. The bar also tells you which side is being “learned” right now. If the right side of the bar is filling up, that means moves going to the right side of the offensive lineman will be less effective. If the left side of the bar is filling up, that means moves to the left side of the offensive lineman will be less effective.
You can get these bars to come down by doing moves to the opposite side, and also by subbing in new defenders since the offensive lineman won’t have played as many reps against that player.

What Are The Green Check Marks?
The green check marks will show up over any defender who is “in the box” — basically close enough to the LOS — before the ball is snapped. The green check at the very least signifies that the offensive line is marking those players for both pass and run plays and has a plan to deal with them.
What’s a little more unclear is what else the green checks matter for right now. EA had promised that “run commit” would not be as extreme if you guessed wrong, meaning not every player would commit and bite if you guessed wrong. In theory, this means the players with green checks should really be the ones who commit while the players deeper in the secondary won’t bite as hard when/if you guess wrong.
However, it’s not clear that’s the case all the time, so we would say just assume green checks simply deal with offensive line AI.


Published: Jul 21, 2024 10:10 PM UTC