
The Dunk Meter is one of the more powerful mechanics in NBA 2K25. If used correctly, it almost guarantees you will land a contact dunk, which can lead to bucket after bucket. Unfortunately, the game doesn’t make the Dunk Meter’s mechanics widely known, leading to many players asking how to turn it on or not even knowing it’s there.
Luckily for you, though, the Dunk Meter doesn’t actually need to be enabled. Contrary to popular belief, the Dunk Meter is active at all times, meaning you just need to know how to use it to see it in action. Learning how the Dunk Meter works is an essential tool if you want to dominate the paint in NBA 2K25, so let’s see how you can bring up the meter and the best way to use it.
How To Activate The Dunk Meter In NBA 2K25
The Dunk Meter’s mechanics haven’t really changed from 2K24 to 2K25, so if you knew how the meter worked in the previous game, you know it works in the current one. Of course, since the game doesn’t do the greatest job of explaining the mechanic, you might need a refresher course or an entire tutorial on how it works.
First off, the Dunk Meter is available regardless of what platform you’re on, so don’t worry about that. Even players on last-gen consoles can use the Dunk Meter to score guaranteed contact dunks.
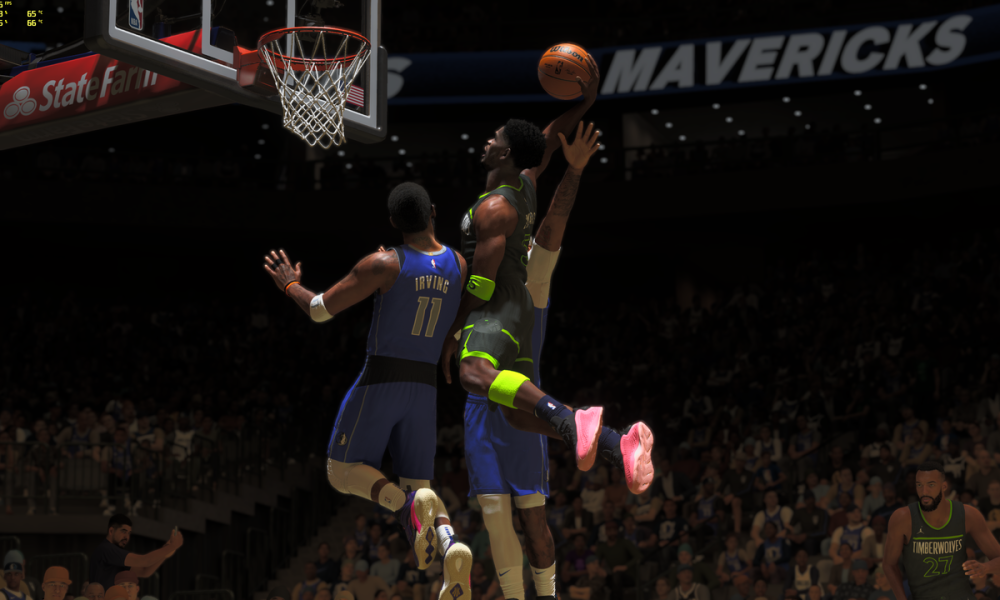
Next, the Dunk Meter is only applicable when you’re trying to perform skill dunks. Regular dunks won’t use the meter. It’s also important to remember that you want to try and gain as much speed as possible before going to the basket, as that helps your elevation and timing with using the Dunk Meter.
With all of that out of the way, follow the steps below to activate the Dunk Meter in 2K25:
- It’s best to try and start a dunk from as far back as possible so you can gain more speed and momentum. Wherever you are on the floor, though, press and hold RT/R2 and hold your left joystick in the direction of the basket to make your player accelerate towards it.
- While holding RT/R2, gently flick the Right Joystick up. If you’re at the top of the three point line, you want to try and start flicking the Right Joystick up when you’re near the free throw line. However, if you’re near the free throw line or along the baseline, flick the joystick sooner rather than later.
- Right after you flick the Right Joystick up, flick it all the way down. This makes the Dunk Meter appear.
- When the Dunk Meter appears, you’ll see a bar with an arrow moving up it. Keep holding the Right Joystick all the way down until the arrow reaches the green zone of the bar.
- Right as the arrow reaches the green zone, release your Right Joystick and your character should initiate a contact dunk without fail.
You’ll definitely want to practice this button/joystick combo as much as possible on a private court before trying it out in a game. The timing of flicking the joystick up and down and where you start the process of a dunk takes some time to figure out and master. However, as soon as you realize what you need to do to activate the Dunk Meter, it will start to become second nature.
Best Times To Use The Dunk Meter In NBA 2K25
While it’s true that using the Dunk Meter correctly leads to efficient contact dunks, that doesn’t mean you can just press a few buttons and dunk the ball every time. What often gets in the way of being able to use the Dunk Meter is the number of defenders around the basket and guarding you.
If there are too many defenders you have to go through near the rim or if you’re playing an adequate defender, trying to do a skill dunk will result in a turnover more times than not. You’re left vulnerable during the process of activating the Dunk Meter, so if defenders see what you’re trying to do, they’ll be able to pick your pocket or block your attempt.
As such, you want to usually try and use the Dunk Meter when you have a clear path to the basket. Even if there are one or even two defenders near the hoop, you can still dunk over them if you have high enough stats. However, if you have to contend with those defenders plus someone guarding you up front, chances are you won’t even be able to gather enough momentum to start a dunk in the first place.
The more space you have between your player and the basket gives you a bigger Dunk Meter to work with. As long as you can get the arrow into the green zone, your dunk should go in regardless of who comes along to try and block you. You’re given a longer time to get into the green zone if there aren’t as many defenders around you. When you attempt to contend with multiple defenders, you can still try and activate the Dunk Meter, but the green zone is much harder to hit.
The best bet with using the Dunk Meter is to trust your senses. If it’s clear there’s not a clear path to the basket for a dunk, it’s wise not to try it. If you can see a path and your player has good enough stats, though, the Dunk Meter can have you catching bodies left and right in NBA 2K25.


Published: Feb 27, 2025 6:12 PM UTC